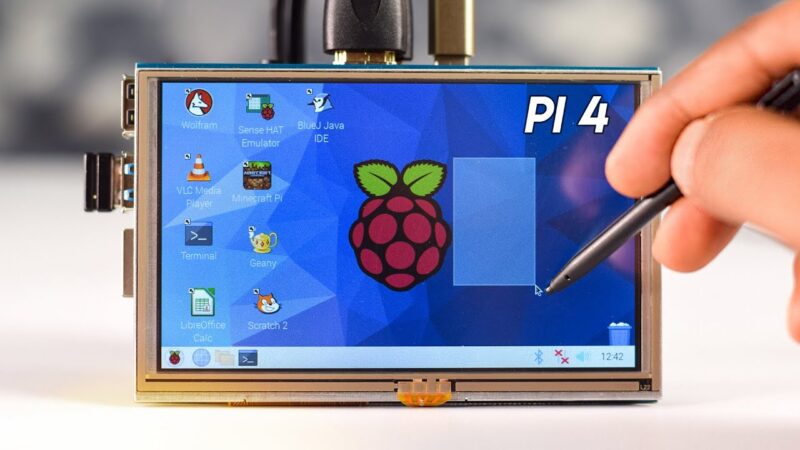
The Raspberry Pi is a small but powerful computer that can be used for many purposes, including media streaming, gaming, and DIY projects. However, getting the right display settings is important to ensure everything looks clear and works properly.
Whether you’re using a Raspberry Pi monitor, TV, or touchscreen, adjusting the screen resolution can improve your experience. This guide will explain how to configure screen resolution and display settings in a simple and beginner-friendly way.
Key points:
- The Raspberry Pi supports various display connections, including HDMI and DSI.
- Adjusting screen resolution can enhance the display quality.
- The Raspberry Pi Configuration Tool simplifies resolution adjustments.
- Manual adjustments can be made using the Screen Configuration menu.
- Overscan settings can cause display issues like black borders.
Understanding Raspberry Pi Display Options
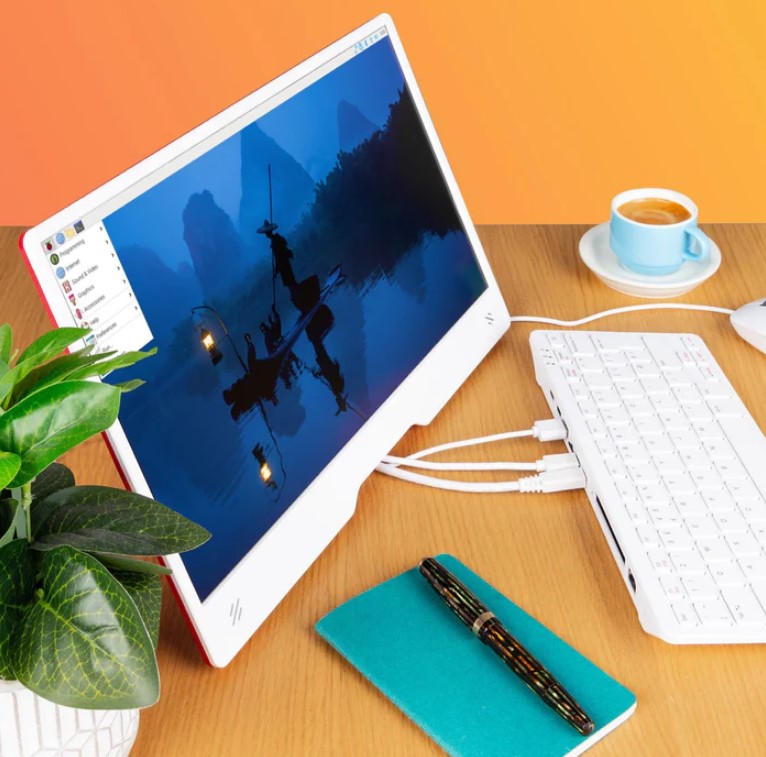
Most Raspberry Pi models, including the Raspberry Pi 4 and Raspberry Pi 400, have HDMI ports to connect to screens. Some older models also support other connections like composite video.
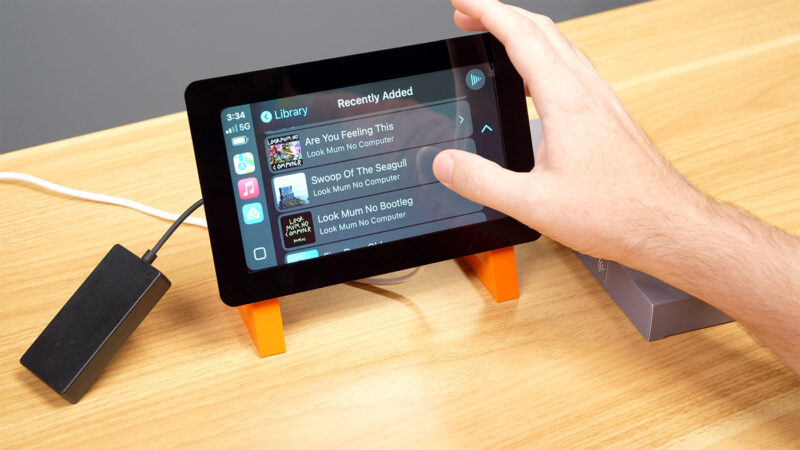
If you’re using an official Raspberry Pi touchscreen, it connects through a special port called DSI (Display Serial Interface). Knowing how your Raspberry Pi monitor connects is the first step in setting it up correctly.

Checking Your Current Display Settings
Before making any changes, you can check the current display settings through the Raspberry Pi’s display settings menu. This will show information about your connected Raspberry Pi monitor, including resolution and refresh rate. If the display doesn’t look right, you may need to adjust it.
Changing Screen Resolution with the Raspberry Pi Configuration Tool
The easiest way to adjust the screen resolution is through the Raspberry Pi Configuration Tool. Follow these steps:
- Open the Raspberry Pi menu and go to Preferences.
- Select Raspberry Pi Configuration.
- Click on the Display tab.
- Choose Set Resolution and select the resolution that matches your Raspberry Pi monitor.
- Click OK and restart your Raspberry Pi for the changes to take effect.
After rebooting, your new resolution settings should be applied.
Adjusting the Resolution Manually
If the configuration tool does not work or you need more control, you can adjust the settings in the Screen Configuration menu. This option allows you to select the resolution and refresh rate for your Raspberry Pi monitor. Once you make your selections, apply the changes and restart your Raspberry Pi.
Fixing Black Borders and Overscan Issues
Sometimes, your Raspberry Pi monitor may show black borders around the edges, or parts of the display may be cut off. This is usually caused by overscan settings. To fix this:
- Open Raspberry Pi Configuration from the Preferences menu.
- Navigate to the Display tab.
- Find the Underscan/Overscan setting and disable it.
- Restart your Raspberry Pi to see if the issue is resolved.
If parts of the screen are still cut off, you can manually adjust the screen position using the monitor’s built-in settings.
Setting Up Two Screens on Raspberry Pi 4
The Raspberry Pi 4 supports dual monitors, which is great for multitasking. To set this up:
- Connect both Raspberry Pi monitors before turning on the Raspberry Pi.
- Open Screen Configuration from the Preferences menu.
- Adjust the display arrangement to set the primary and secondary screens.
- Apply the changes and restart the Raspberry Pi if needed.
Troubleshooting Display Problems
If you run into issues with your Raspberry Pi monitor, here are some common fixes:
- No display at all? Try another HDMI cable or port.
- Wrong resolution? Use the Raspberry Pi Configuration tool to set the resolution manually.
- Screen not detected? Make sure the HDMI cable is securely connected before powering on the Raspberry Pi.
- Using a Raspberry Pi touchscreen? Ensure the display ribbon is securely connected.
Advanced Display Settings
For more advanced users, there are additional settings that can be tweaked to optimize display performance. These include:
- Refresh rate ─ Adjusting the refresh rate can improve smoothness, especially in video playback. Common refresh rates include 60Hz and 30Hz.
- Aspect ratio ─ Ensure the aspect ratio matches your monitor to avoid distortion.
- Resolution modes ─ Some monitors support multiple resolution modes; choose the one that best fits your needs.
Configuring for Specific Displays
Different displays require different settings to ensure optimal performance and compatibility. Here’s how you can configure your Raspberry Pi for various types of displays:
TVs
When connecting your Raspberry Pi to a TV, it’s important to use the correct HDMI settings. TVs typically use HDMI Group 1, which includes CEA (Consumer Electronics Association) modes. These modes are designed for consumer electronics and provide a range of resolutions and refresh rates suitable for TVs. To configure your Raspberry Pi for a TV:
- HDMI group 1 ─ Select this group in your HDMI settings.
- CEA mode ─ Choose a compatible CEA mode that matches your TV’s resolution and refresh rate. Common CEA modes include 720p, 1080i, and 1080p.
Monitors
Monitors, on the other hand, often use HDMI Group 2, which includes DMT (Display Monitor Timings) modes. These modes are more commonly used for computer monitors and provide a wider range of resolutions and refresh rates. To configure your Raspberry Pi for a monitor:
- HDMI group 2 ─ Select this group in your HDMI settings.
- DMT mode ─ Choose a DMT mode that matches your monitor’s resolution and refresh rate. Common DMT modes include 1080p at 60Hz and 1440p at 60Hz.
Touchscreens
For touchscreens, the connection method is different as they typically use the DSI (Display Serial Interface) port. Ensuring the display ribbon is securely connected is crucial for proper function. To configure your Raspberry Pi for a touchscreen:
- Secure connection ─ Ensure the display ribbon is properly connected to both the touchscreen and the Raspberry Pi.
- Adjust settings ─ Use the Raspberry Pi Configuration Tool to adjust display settings as needed. This may include setting the resolution and ensuring touch functionality is enabled.
Common Display Issues and Solutions
Some common issues and their solutions include:
- No signal ─ Check HDMI connections and try a different port.
- Incorrect resolution ─ Use the Raspberry Pi Configuration Tool to adjust the resolution.
- Black borders ─ Disable overscan in the Raspberry Pi Configuration.
Conclusion
Setting up the correct screen resolution and display settings on a Raspberry Pi can greatly improve your experience. Whether you use the configuration tool or adjust settings manually, these steps will help ensure your Raspberry Pi monitor looks its best.
If you encounter issues, simple troubleshooting steps like adjusting overscan or changing display settings can often resolve them. Now, you’re ready to enjoy a crisp and clear display on your Raspberry Pi!