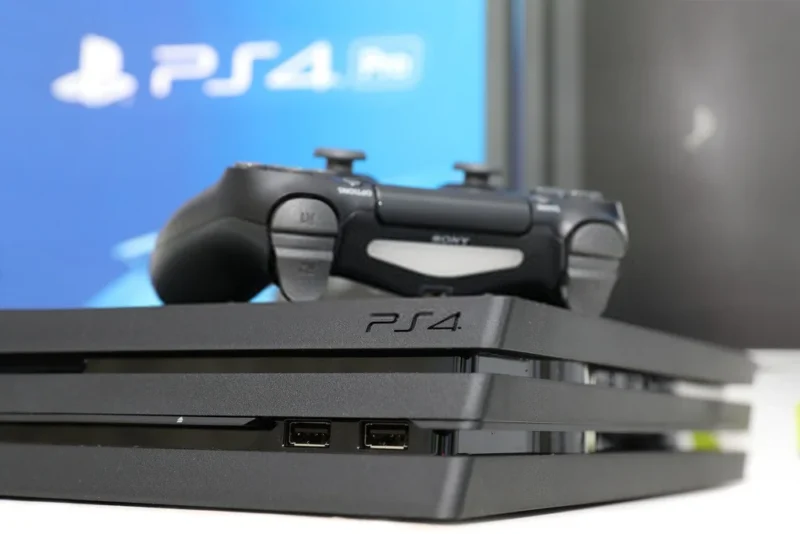
Connecting your PS4 to a laptop can enhance your gaming experience by allowing you to play on a different screen or use your laptop as a display. To connect your PS4 to a laptop, you’ll need an HDMI cable or the Remote Play app.
These steps are simple, making it easy for anyone to set up.
Using an HDMI cable requires your laptop to have an HDMI input port. If it does, you can connect the PS4 directly to the laptop. Many laptops only have HDMI output ports, so an alternative method like Remote Play might be necessary.
Key Takeaways:
- You can connect your PS4 to a laptop using HDMI or Remote Play.
- Adjust PS4 and laptop settings to ensure seamless connection.
- Enjoy gaming with enhanced flexibility using your laptop.
Preparing Your Devices

Before you can connect your PS4 to your laptop, make sure both devices meet the necessary requirements and are properly set up for this task. This process includes checking system specifications and ensuring correct settings.
Checking System Requirements
First, ensure your laptop meets the basic specifications. Operating System should be at least Windows 8.1 or macOS 10.13. Your RAM should be at least 2 GB. The laptop should have an HDMI port.
Your PS4 console should also be up-to-date, with the latest system software installed. You can verify this in the settings menu. Having a stable Internet connection is also crucial.
Setting Up Your PS4
Before connecting, prepare your PS4. Turn on your console and navigate to the Settings menu. Select Remote Play Connection Settings and check Enable Remote Play.
Then, go to Account Management. Choose Activate as Your Primary PS4 and select Activate. This will allow you to connect to your PS4 remotely more easily.
Ready Laptop Connectivity

For the laptop to detect the PS4, it needs the right settings. Download and install the PS4 Remote Play app from Sony’s website.
Connect your PS4 controller to the laptop via USB or Bluetooth.
Open the Remote Play app and sign in with your PlayStation Network account. Choose Start to search for your PS4 and establish a connection.
With these preparations, you’ll be ready to connect your PS4 to your laptop effectively.
Establishing the Connection
Connecting your PS4 to a laptop can be done in multiple ways, depending on your equipment and preferences.
You can use an HDMI cable, a video capture card, or set up Remote Play.
Each method has specific steps and requirements that need to be met.
Connecting via HDMI
To connect your PS4 to a laptop using an HDMI cable, ensure your laptop has an HDMI input port; most laptops only have HDMI output.
Begin by plugging one end of the HDMI cable into the PS4’s HDMI output port, and the other end into the laptop’s HDMI input port.
Next, turn on your PS4 and laptop. On your laptop, navigate to the “Display Settings” by right-clicking on the desktop and selecting it from the context menu.
You should see two displays listed—one for your laptop screen and one for the PS4. Select the external display (PS4) to finalize the connection.
Using a Video Capture Card
If your laptop lacks an HDMI input port, a video capture card can be an effective alternative. Start by purchasing a compatible video capture card.
Connect the PS4 to the capture card using an HDMI cable, plugging one end into the PS4’s HDMI output and the other into the capture card’s HDMI input.
Then, connect the video capture card to your laptop using a USB cable. Most capture cards come with software; install it on your laptop.
Open the software, and you should now see the PS4’s display on your laptop. This method is ideal for streaming or recording gameplay.
Setting Up Remote Play
To use Sony’s Remote Play, both your PS4 and laptop need an internet connection.
First, download and install the PS4 Remote Play application on your laptop, available for both Windows 10 and macOS.
On the PS4, go to “Settings” > “Remote Play Connection Settings” and check the box for “Enable Remote Play.” Also, go to “Settings” > “Account Management” > “Activate as Your Primary PS4” and activate it.
On your laptop, open the Remote Play app, log in to your PlayStation Network account, and follow the prompts to connect to the PS4.
Make sure both devices are on the same Wi-Fi network for a smooth experience.
Configuring Display and Audio
To ensure the best experience when connecting your PS4 to a laptop, it’s important to properly adjust both the display and audio settings.
It will maximize the quality of your visuals and sound, making for a more enjoyable gaming session.
Adjusting Display Settings
Begin by connecting your PS4 to your laptop using an HDMI cable.
Once connected, right-click on your desktop and select “Display Settings” from the context menu. In the Display Settings window, you will see two displays listed—one for your laptop’s screen and one for the PS4.
Click on the external display (PS4) to select it. Adjust the screen resolution to match your laptop’s display capabilities.
Common resolutions include 1920×1080 and 1366×768, but be sure to select the highest resolution your screen supports for the best visuals.
Next, navigate to the Control Panel and choose “Adjust Screen Resolution“. Within this menu, you can also adjust brightness and contrast settings.
Proper calibration ensures colors appear accurate and images are sharp. If your laptop allows, you can further tweak color calibration settings under “Color Management” to fine-tune hues and saturation.
Optimizing Audio Output
To get the best audio quality, check your laptop’s audio settings.
Once your PS4 is connected, go to the PS4’s “Main Menu” and select “Settings” > “Sound and Screen”. Under this menu, choose “Audio Output Settings”.
Set the audio output to “HDMI” to ensure the sound is routed through the connected HDMI cable to your laptop.
On your laptop, right-click the speaker icon in the system tray and select “Playback Devices“. Ensure your HDMI output is set as the default playback device.
For enhanced sound quality, you may want to adjust audio settings such as volume, balance, and equalizer options.
These options can typically be found in your laptop’s sound settings or through specific audio driver software, such as Realtek HD Audio Manager. Adjusting these settings can help create a balanced and immersive audio experience.
To make the most of connecting your PS4 to your laptop, it’s important to address common issues and explore ways to stream or record your gameplay. This will help you achieve a more immersive gaming experience.
Troubleshooting Common Issues
Connecting your PS4 to your laptop might come with some challenges. Lag and input lag can affect your gameplay experience.
To reduce latency, ensure you are using a high-speed HDMI cable and a stable internet connection.
If your game display isn’t showing correctly on the laptop, navigate to the Display Settings on your laptop.
Make sure the PS4 is selected as the external display. Adjust resolution settings to match your laptop’s capabilities for smoother gameplay.
If your PS4 has no image even after trying different cables, TVs, or resetting video settings, the HDMI port might be damaged. This is a common issue, especially if the port is loose, bent, or has broken pins. In such cases, a proper hdmi port repair is often needed to restore video output.
Should you encounter frame rate drops or distorted audio, check if your laptop’s GPU drivers are up to date.
Updating these drivers can significantly improve performance. If issues persist, try restarting both your PS4 and your laptop to reset the connection.
Streaming and Recording Gameplay
Streaming your gameplay can enhance your experience by sharing it with others.
To stream to platforms like Twitch or YouTube, you can use software like OBS Studio. This free tool lets you customize your stream, add overlays, and manage audio.
First, link OBS Studio to your Twitch or YouTube account by retrieving the stream key from your account settings. Enter this key into OBS Studio under Settings > Stream.
Setting up recording in OBS Studio is similar. Go to Settings > Output, and define the file path where your recordings will be saved. Adjust the bitrate and resolution for higher quality recordings.
When streaming, monitor your frame rate and watch for any signs of lag. Reducing the stream quality can help if your internet connection struggles. Using these tools effectively will ensure your audience enjoys a smooth, high-quality viewing experience.
The Bottom Line
Connecting a PS4 to a laptop can be simple and useful. You can play your games on a larger screen or use your laptop as a secondary display.
Start by gathering all the necessary equipment. You’ll need an HDMI cable, your PS4, and your laptop. Ensure your PS4 is connected to a TV initially to set up the necessary settings.
Enable Remote Play on your PS4. Navigate to Settings, then to Remote Play Connection Settings, and enable it. Next, go to Account Management and activate your PS4 as the primary console.
Connect the HDMI cable to both your PS4 and laptop. On your laptop, go to the display settings. You can find this by searching for “Display Settings” or “Graphics Settings.”