Giving your AirPods a unique name can make it easier to distinguish them from other Bluetooth devices, especially in crowded areas like offices or public places.
Whether you are using an iPhone, Android device, Mac, or Windows PC, renaming your AirPods is a straightforward process.
On an iPhone or iPad, go to Settings, tap the name of your AirPods, enter a new name, and tap Done.
Preparing Your Devices
Before you rename your AirPods, make sure they’re properly connected to your device. This ensures a smooth renaming process and prevents any issues.
Ensuring Device Connectivity
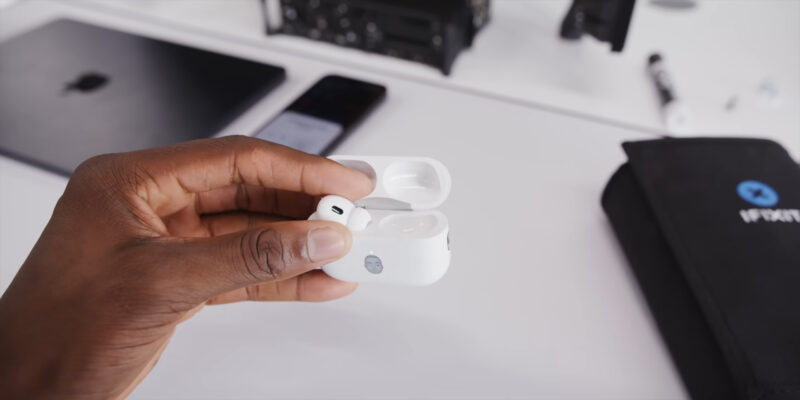
First, you need to check if your AirPods are connected to your device.
- On an iPhone or iPad, go to Settings > Bluetooth and confirm your AirPods show as connected.
- For Mac, click the Apple menu > System Settings > Bluetooth and see if your AirPods are listed as paired.
- If you use Android, open the Settings app, select Connections, and ensure they display as connected.
- For Windows, navigate to Settings > Devices > Bluetooth & other devices. Check if they appear under connected devices. If not, click on Add Bluetooth or another device and follow the pairing instructions.
Troubleshooting Common Issues Before Renaming
Sometimes, you might face issues connecting it to your device. Start by turning the Bluetooth off and then back on. This quick reset can solve minor glitches.
If your device still won’t connect, try resetting them. Put your device in their charging case, close the lid, and wait for 30 seconds.
Open the lid, press and hold the setup button until the status light flashes white, then try reconnecting.
For persistent issues, make sure your device’s software is up to date. Sometimes, outdated software can cause connectivity problems.
Lastly, ensure your device have sufficient battery and are close to your device during the connection process.
Renaming Airpods on Different Platforms
To rename them, the process can vary depending on the device you’re using.
Each platform has specific steps to follow, ensuring that your AirPods are correctly renamed across iOS, Android, Mac, Windows, and Chrome OS.
iOS
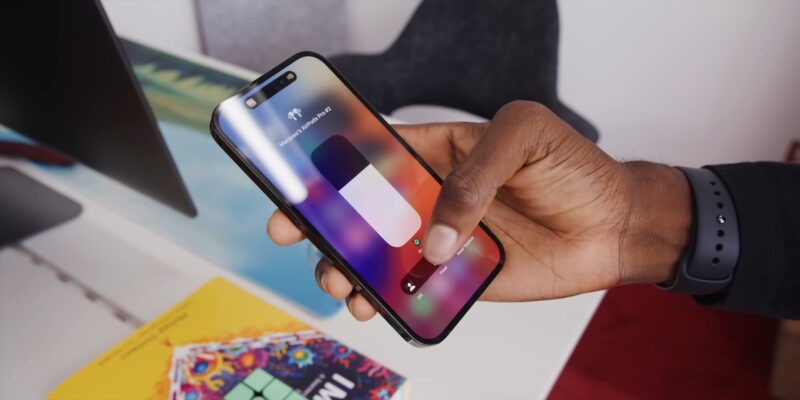
On an iPhone or iPad, make sure they are connected through Bluetooth. Open the Settings app and select Bluetooth.
Locate your AirPods in the list of connected devices and tap the “i” icon next to their name. On the next screen, tap on the current name.
Enter the new name you want, then tap Done to save the changes.
Android
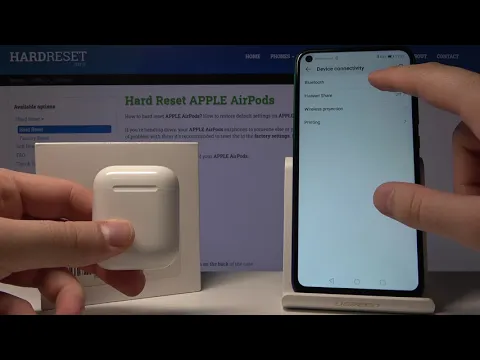
For Android users, open the Settings app and navigate to Bluetooth. Ensure they are connected to your device.
Find and select the gear or settings icon next to your AirPods in the list of connected devices.
Tap on the current Name field to edit it. Enter the new name and confirm your changes. Your AirPods will now display this name when connected to Android devices.
Mac
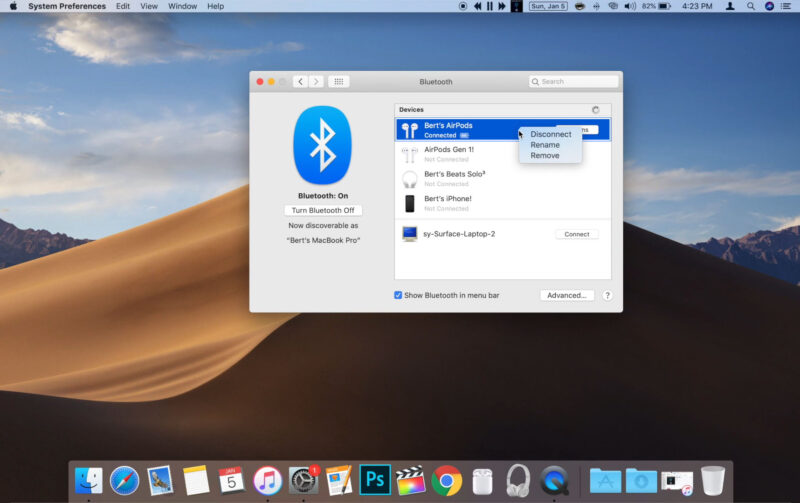
When using a Mac, always ensure your AirPods are connected.
Open System Preferences and choose Bluetooth. Find your AirPods in the list of connected devices and click on them.
From the drop-down menu, select Rename. Enter the new name in the required field and press OK or Done.
The new name should now display across all your Apple devices connected through iCloud.
Windows
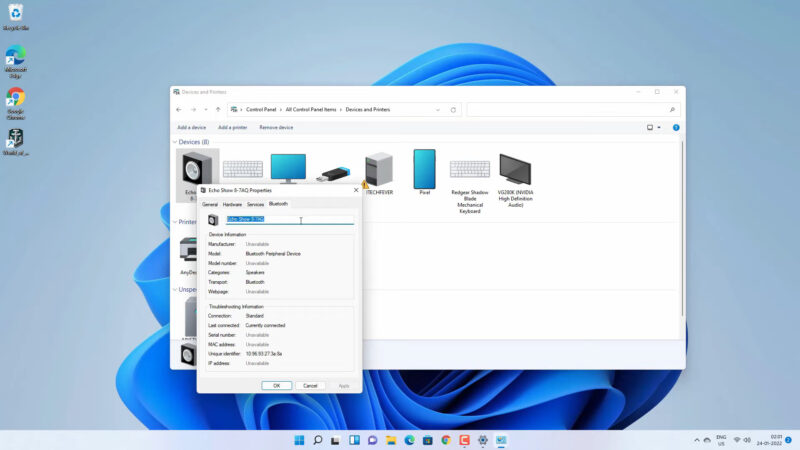
On a Windows PC, first connect them through Bluetooth. Open the Control Panel and navigate to Hardware and Sound.
Choose Devices and Printers and locate them in the list.
Right-click on them and select Properties. Navigate to the Bluetooth tab where you can change the Name.
Enter your desired name and click Apply to save your changes.
Chrome OS
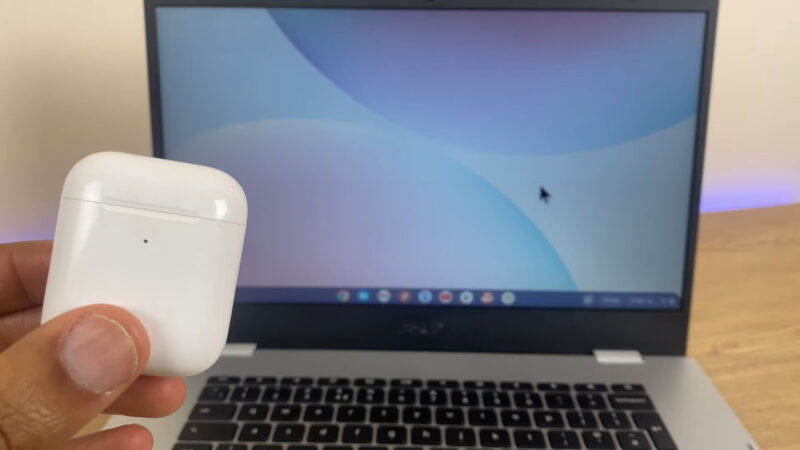
To rename your AirPods on a Chromebook, first ensure they are connected.
Open the Settings app and go to Bluetooth settings. Find your AirPods in the list of connected devices and click on them.
Enter the new name in the provided field and click Enter or Save.
Your AirPods should now be renamed and this new name will be reflected whenever they are connected to your Chromebook.
Additional Considerations and Tips
To make the most of your AirPods, you should consider maintaining a unique name, understanding their features, and preparing for selling or transferring ownership.
Maintaining a Unique Name for Easy Identification
Giving your AirPods a unique name can make it easier to identify them among multiple devices.
This is especially useful if you have several Bluetooth devices connected to your Apple ID or if you often use your Pro or Max in crowded spaces.
- Choose a name that is personal, yet easy to identify.
- Avoid using generic names like “AirPods” or “My AirPods.”
- If you have multiple pairs of AirPods, differentiate them by using digits or descriptors (e.g., “John’s AirPods Pro” or “AirPods Max 1“).

Features
Knowing the features of your AirPods can enhance your experience.
Apple AirPods come with a variety of functions, like automatic ear detection, which pauses playback when you remove one earbud.
- Apple Watch users can control their AirPods directly from the watch.
- The charging case extends battery life and provides a convenient way to carry them.
- AirPods Pro and Max offer noise cancellation and transparency modes for different listening environments.
- Familiarize yourself with these features to get the most out of your wireless earbuds.
Selling or Transferring Ownership
If you’re planning to sell or give away your AirPods, there are steps you should take to ensure a smooth transfer.
- Reset: Hold the button on the back of the charging case until the LED flashes amber and then white.
- Remove from Apple ID: In the Bluetooth settings of your iOS device.
- Clean thoroughly: Ensure the charging case and earbuds are clean.
By following these steps, you make sure that the new owner can connect the AirPods to their devices without any issues.

Summary
Renaming your AirPods is simple, regardless of the device you use. By following the provided steps, you can easily personalize the name on iOS, Android, Mac, or Windows devices.
Personalizing the name makes it easier to identify them, especially if you have multiple Bluetooth devices. It’s a small step that adds a touch of customization to your tech.
Use the guides provided to change the name quickly and effectively.
Related Posts:
- How to Logout of Amazon App for Android, IOS, and…
- Innovative Approaches to Android Automation ─ Tools…
- How to Check SD Card Health on Windows - Keep Your Data Safe
- How To Solve Windows Did Not Detect Any Networking Hardware
- Testing on Safari for Windows ─ Effective Strategies…
- How Can I Recover Permanently Deleted Files in Windows

